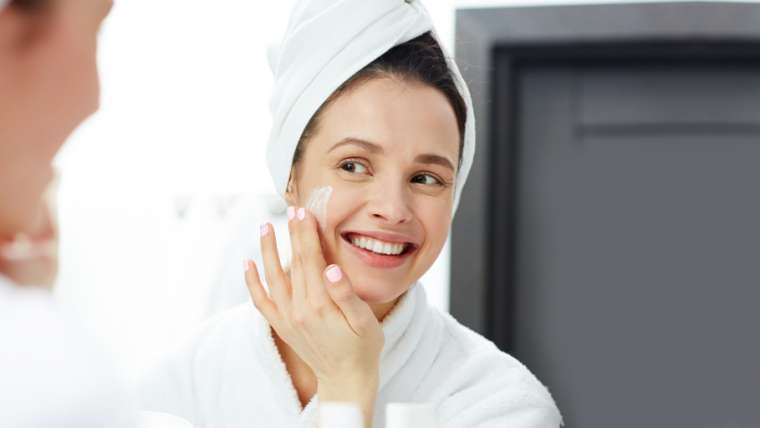
All messed up because you just can’t do your eyes perfectly. Remember, the most essential part of your face — your eyes need some precision and care to look awesome. Eyes highlight the way you have done your makeup and is the first place where the other eyes rest. So, it should be done perfectly to flaunt your mastery over the art of makeup. Here are a few tricks to teach you how to become the master that you are not.
Step 1: Apply Primer
Primer helps your eye shadow last longer and prevents oil from creasing up your shadows. It forms a perfect base for your eyes. Apply it on your upper eye lid and pat it with your finger tip or a fluffy brush. Primer should be a base lighter than your skin tone.
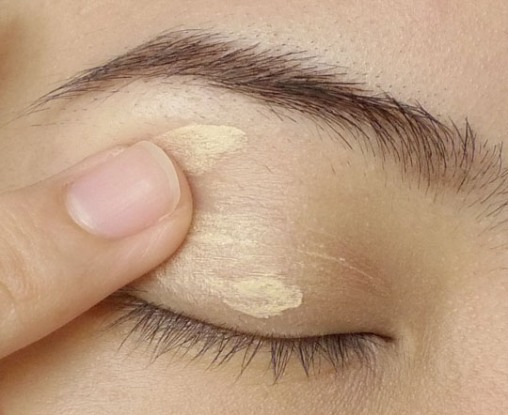
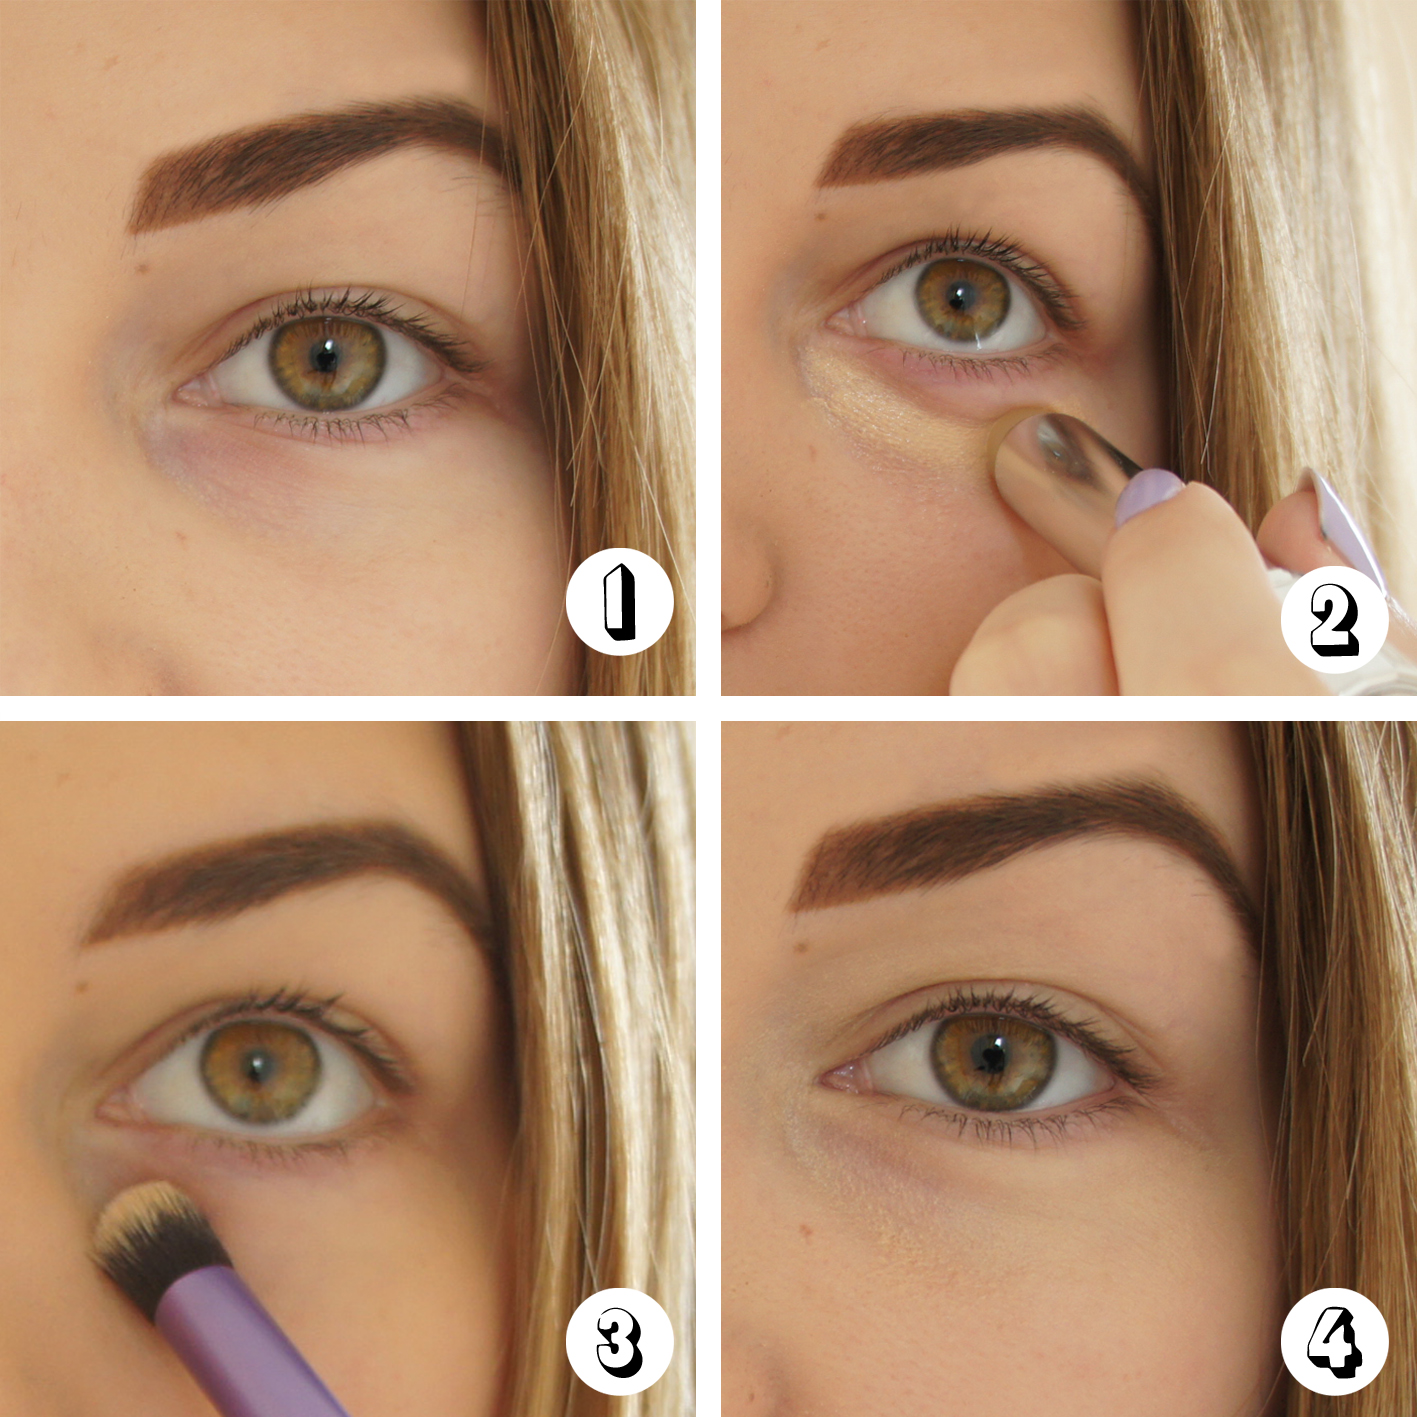
Step 2: Apply Concealer and Corrector
Under eye circles forbid your look. Always apply a hydrating, fast-absorbing eye cream. It allows other products to go on smoothly. You can also apply a corrector to cover purple or green tones in the skin. Now, follow up with the concealer that is one or two shades lighter than your foundation. Set your under eye with a pale yellow powder to prevent it from creasing.
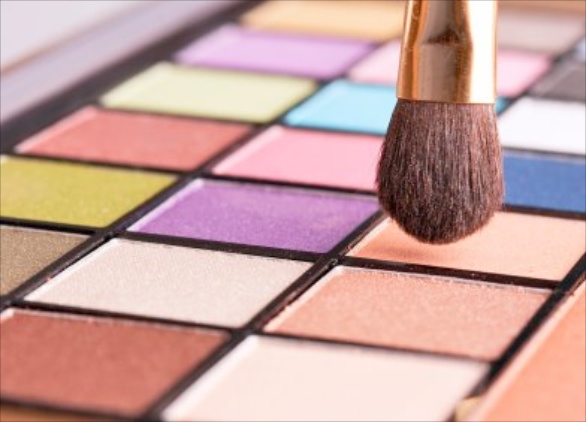
Step 3: Choose the right eye Shadow
Eye shadows come in different tones, colors and textures and it can be quite difficult to choose them. But you need only three to four shades to create a basic look. Firstly a highlighter that is one or two shades lighter than your skin tone. Another is matt midlook eye shadow, which will help you blend out your eye make-up softly. And the third one is contour shade that must be two or three shades darker than your skin and will add a shape and shadow. Last one is matt black eye shadow, which can be used differently.
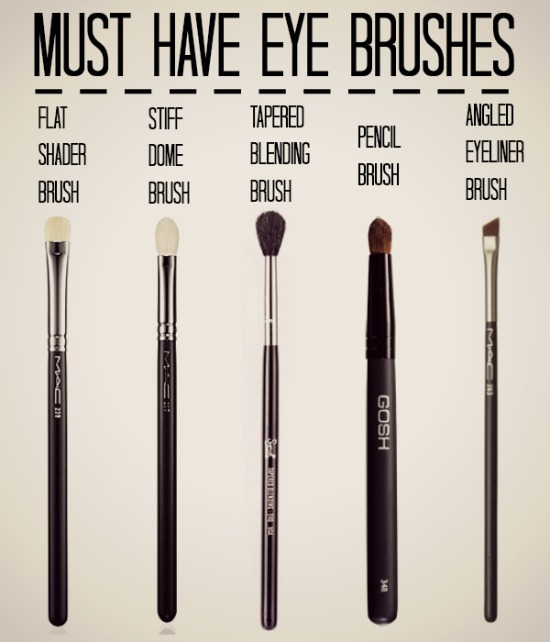
Step 4: Choose the right brush
Though you must have atleast two brushes, but it is not a norm. You can have even more. If you are choosing two brushes, make sure they have two ends. The first one has a flange brush to apply eye shadow and pigments and a smudger brush at the other end to do the detailing and is optional. Now, the second brush has a blending brush at one end — it is soft and fluffy and its other end has a flat base but blends perfectly at the tip.
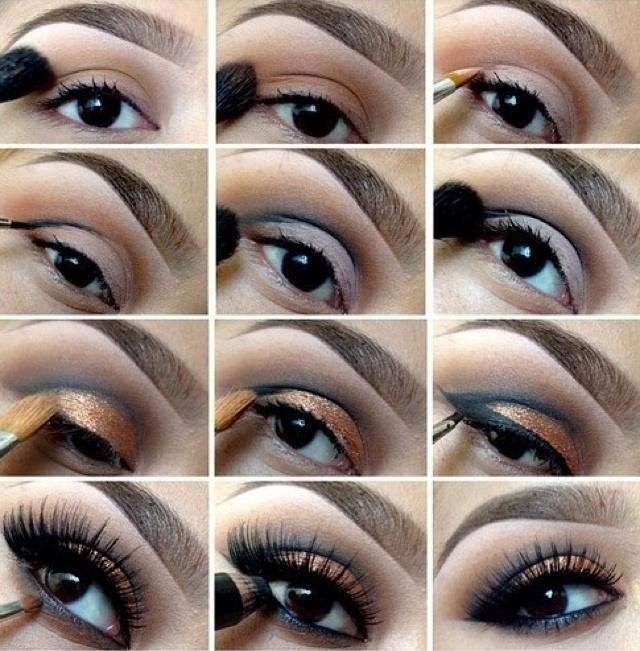
Step 5: Applying eye shadow using brush
Begin with flat brush and your lightest eye shadow, pick it from the tip, rub off the excess, but never blow the brushes, it is unhygienic. Start right from the inner corner of the eye where you want the concentration of the product.
Fun trick: Dampen the tip of the flat brush in water but don’t wet it, now swipe of the excess water. Pick up a little bit of the eye shadow and apply normally, focusing primarily on inner corners. This will give your eye shadow a real shimmery look.
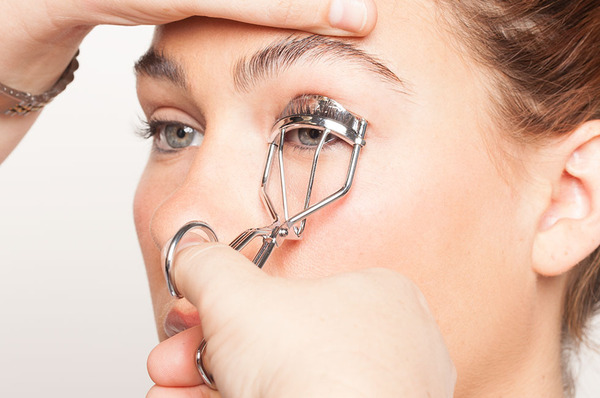
Step 6: Curling the eyelashes
Now, when you are done with the eye shadows, complete the look by curling up your eye lashes. Eyeryone should curl their eye lashes. To make it look thick, you can also paste artificial lashes. If you want to thicken your eye lashes naturally, Idol Lash is the product I would recommend. It enhances your eye lashes by boosting the hair growth naturally.
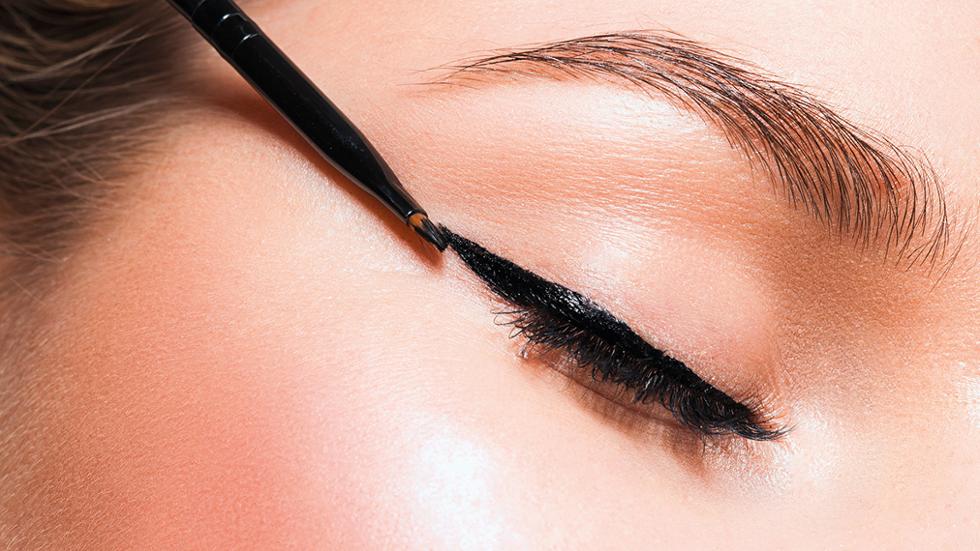
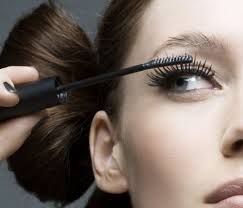
Step7: Apply Mascara and eyelier
Technically, it is the last step. Apply eyeliner from inner corner of the eye to the outer corner. Keep it thick on the outer corners. Now, apply mascara to your curled eye lashes — artificially enhanced or enhanced using Idol lash. Always apply mascara after curling the lashes, not before it. To avoid it from touching the skin, use a mascara shield or a piece of card.
Wow, look at yourself, you just mastered the art of eye makeup. Wasn’t it easy and fun to learn. It just needs some practice and soon you’ll be teaching others.